
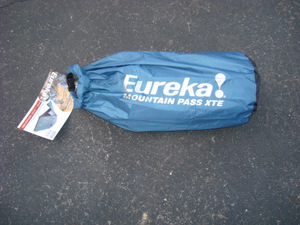
 The Outer Bag
The bag does not have a draw string. Rather the top of it rolls and clips together like a dry bag used for boating. The bag is made of Nylon that should be water resistant but not waterproof.
 Rolled Up Tent
The tent was originally tied with two small strings but we will not use those since they are sure to get easily lost and are not required.
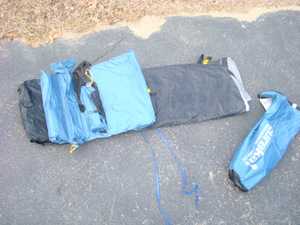 Everything Rolled Inside
All of the items are rolled up inside the tent and the fly.
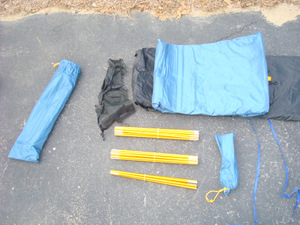 All of the Parts
This shows the tent, fly, loft, poles, stake bag and pole bag. We will leave the loft attached when folding the tent so each tent should have 4 items assuming the poles will be in the pole bag.
(tent:1.8 lbs, poles:1.5 lbs, bag:0.2 lbs,
fly:2.9 lbs, stakes:0.6 lbs)
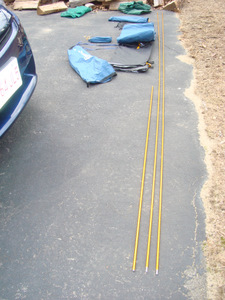
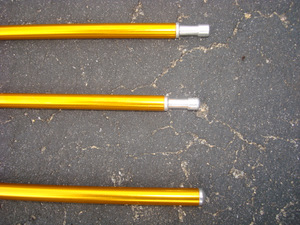 Pole Ends
The two poles used for the tent are the same length and have notched ends that help them stay in the grommets. The smaller pole slides into two cloth “envelopes” in the fly and therefore has smooth rounded ends.
 Pole Assembly
The Poles are aluminum and have a shock cord going through the center of them. When assembling the poles the Scouts should take care not to let them “snap up” together but rather use two hands when assembling each connection. If not done carefully the edges of the poles will eventually cut through the shock cords.
 Footprint
We will be making footprints for each of the tents out of 6 mil plastic so that they will be light weight but still durable.
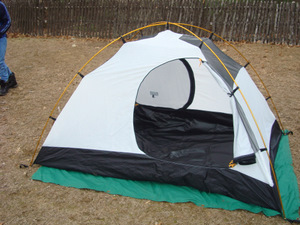
 The Tent
Note that the doors of the tent are on the side of the sleeping area so that the front and back doors are not on the ends of the rectangle.
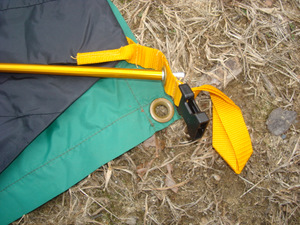 Corner Connections
Each end of the two tent poles fits into a grommet at the corner of the tent. Note that only one corner of the tent is YELLOW, the other three are Blue. This is true for the fly as well so that you simply match the yellow corners to know which way to put the fly on.
Note the clip on the corners, these are the attachments for the fly.
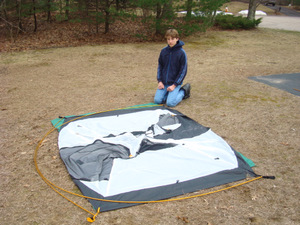 Laying the Poles Down
There are no sleeves for the poles to go through on this tent. When attaching the poles to the corners you can just lay the poles on the ground.
 Attaching the Center Connection
Once the poles are attached at the corners, lift the up so they cross in the center. Wrap the center cord around both poles and fasten with the toggle.
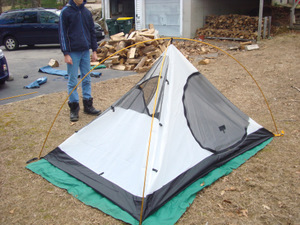
 The Assembled Tent
There are clips that clip onto the pole down the entire length of the poles. Place a clip on top of the pole then pull it down until it clips.
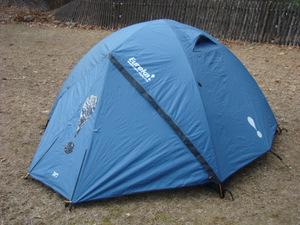
 Fly with Door Open
BEFORE putting the fly on, slide the fly pole into one of the BLACK cloth envelopes and then bend it down and slide it into the other end. Once this is done you put the fly on the tent, align the yellow corners and clip the fly to the tent.
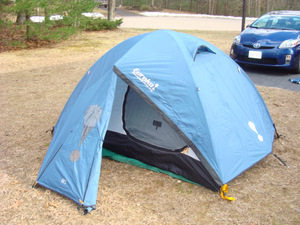
 Full Fly with Upper Vents Open
The fly requires 2 stakes on either end to keep the vestibules out. And additional stake should be used at each end of the tent. Also note that there is a clip at each end of the fly that can attach to the tent but is not necessary for normal use.
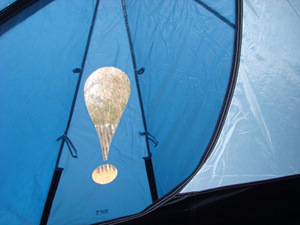
 The Loft
The Loft is attached with 4 clips. There is no need to remove it each time the tent is taken down.
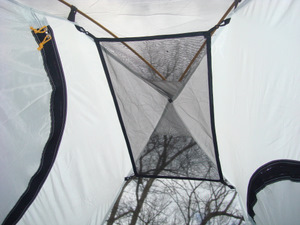
 Window from the Inside
The exclamation points on each side of the fly are actually windows.


